5 Types of Photography for Selling Products Online
There is more to photography than just point-and-click. From lighting and angles to staging and context, we reveal five types of product photography that can help online merchants shine a new light on their products
For better or worse, the value of a business’s products are judged by the design quality of its digital storefront. An ugly site is perceived as being untrustworthy and can adversely affect its ability to generate revenue. Some can be done to lessen this fact, but there’s no getting away from the importance of having an attractive site.
Product photography is one of the best and easiest ways to increase the attractiveness of a website. Large, high-quality images help the viewer better envision the products, which can mean the difference between making a sale or losing one. There are multiple different types of product shots, and mixing them can add some much-needed variety to the site. Below, we cover the different types of shots along with additional information about their benefits.
1. The Individual Shot
The most common type of product image, you can find these shots on category and product display pages. They emphasize an individual product and are usually taken on a white or black background. Typically, all available products on a site will be shown in this format.
Uses: Sweet, simple, and obligatory product photos for basic listings and narrow category pages.
Tips: It is tempting to stick to manufacturer photos, and you may have to rely on those until you build up your own photo library, but your own images will add distinction to your site and your brand.
Source: apple.com
2. The Group Shot
The opposite of an individual shot, this type of shot is chosen for displaying multiple items in the same product line. Occasionally, these shots are also used for products that are packed in different quantities.
Uses: Showing the entire available product range, visually suggesting accessories, or creating a hero image for your category page.
Tips: Presentation matters. Try organizing your products into different shapes rather than just sticking to rows and columns, and get plenty of input from friends.
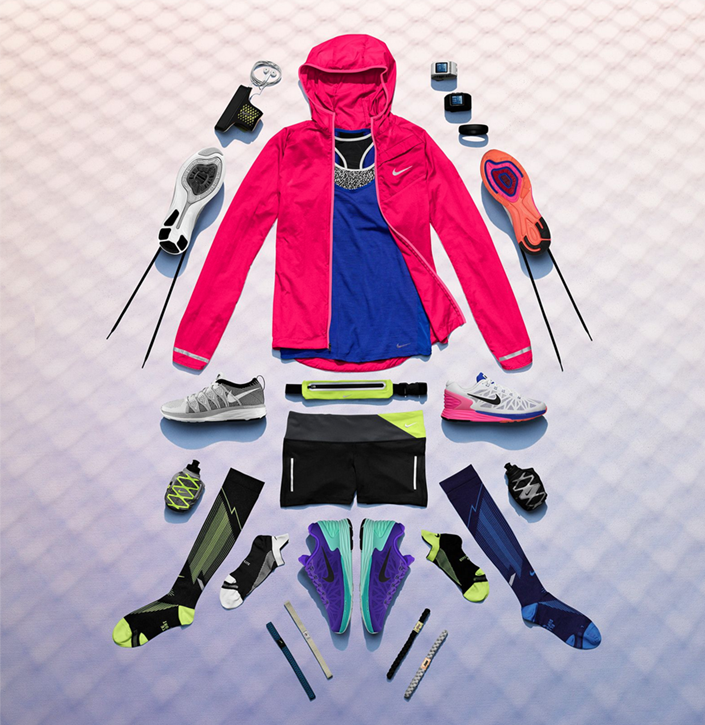
Source: nike.com
3. The Detail Shot
Frequently used for shots involving technology products, this closeup shot shows individual parts or features of the product for emphasis. They are usually zoomed in tight and activate at least three edges of the photo area.
Uses: Visually communicating attention to detail, quality parts, or vanity branding.
Tips: As hinted above, frame your image so that at least three edges of your product come into contact with the photo area. Lighting is always important for photos, but it makes even more of a difference in detail shots. Remember that sunlight is ideal, so shoot outside if you are able.
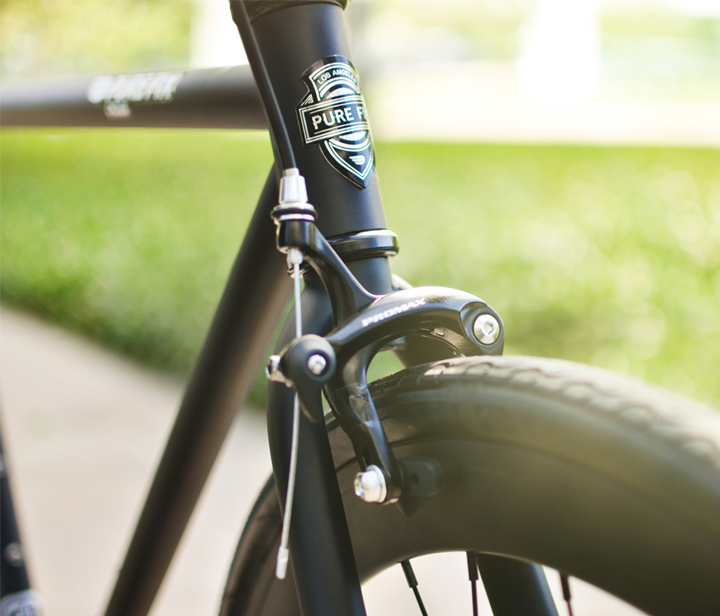
Source: purecycles.com
4. The Component Shot
This shot is demonstrated when individual parts of the product are photographed to add emphasis. Composition varies, but is generally taken in a consistent way that shows that the parts are all related.
Uses: Products with exchangeable parts, such as this 3-in-1 mixer with blades and mixing bowl, with the dough maker called out for emphasis.
Tips: Remember that parts appearing on the outside edges of the image tend to draw the eye, such as the dough hook in this example.
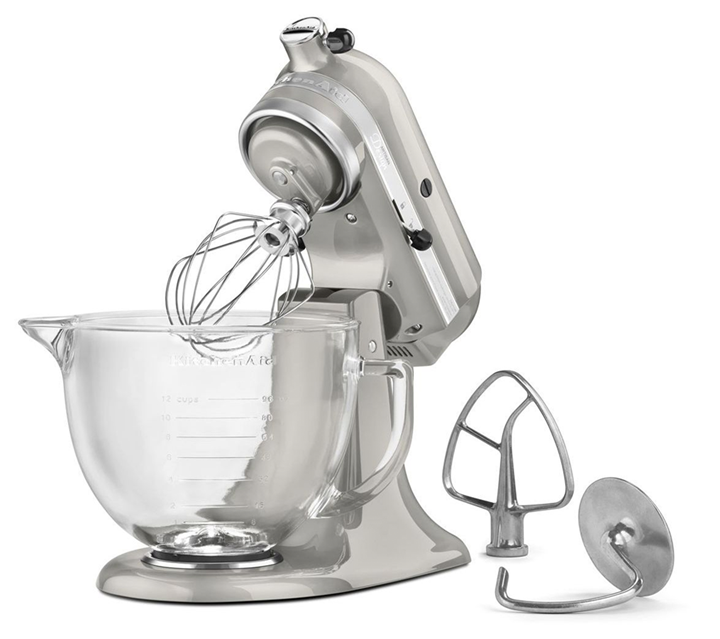
Source: williams-sonoma.com
5. The Teaser Shot
Teaser shots are often done to increase viewer interest and display artistic appeal. They show the product being used in a way that suggests a lifestyle and generally includes heavy usage of props. This type of shot is typically used on header/splash pages and category dividers.
Uses: Shows everyday life using candid shots that display products in the background or as a subtle foreground element.
Tips: These images will not be suitable for every product or even every store, and lifestyle photos can deter some customers if they are perceived as dishonest. In most cases, you will want to be conservative in using them, saving such shots for the homepage and changing them on occasion to avoid viewer fatigue.
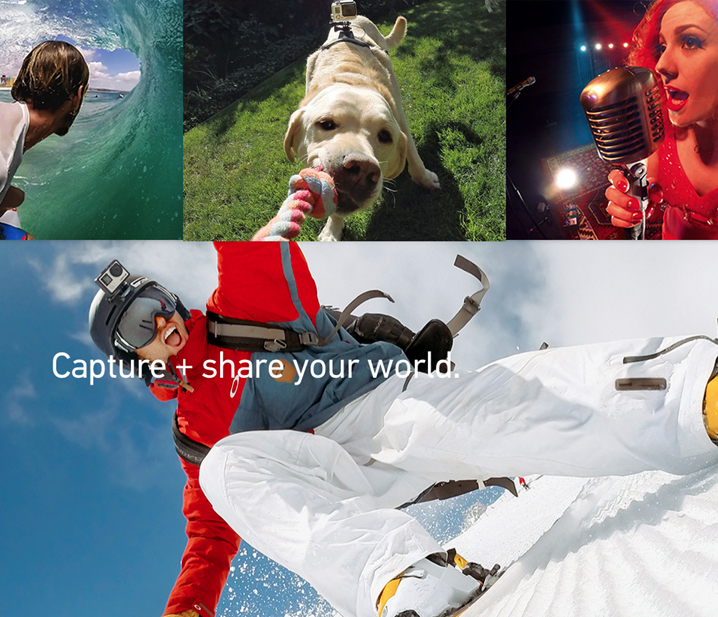
Source: gopro.com
Final Thoughts
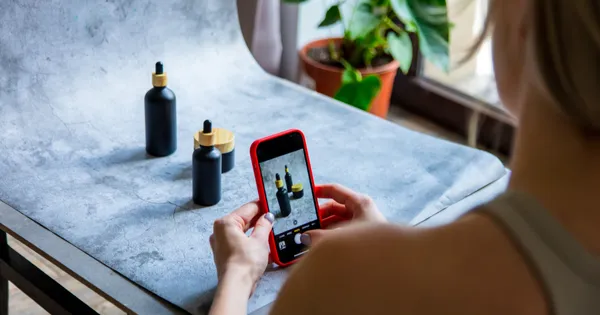
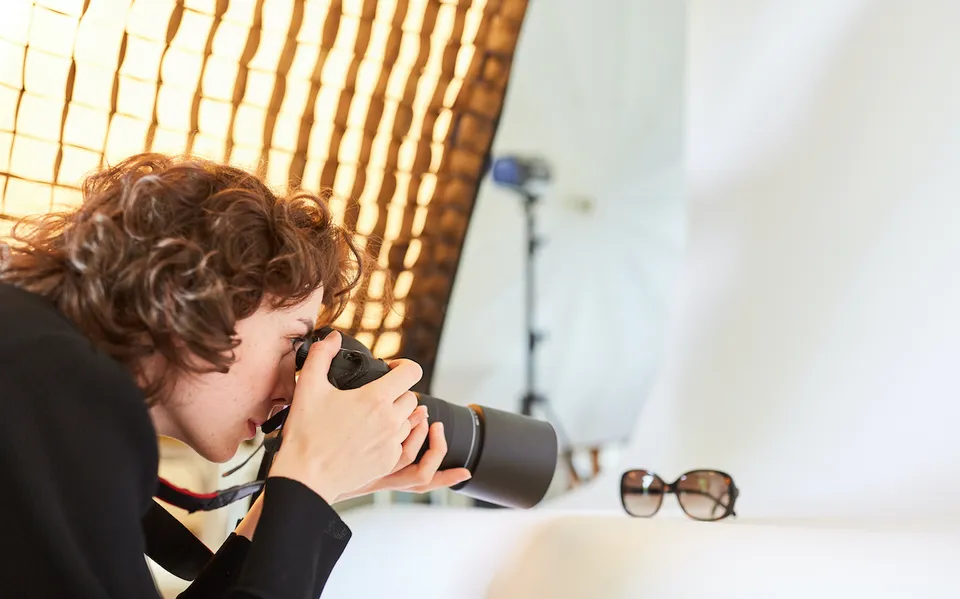
Take the time to review the images on your homepage, as well as a sampling of product and category pages, and spend a few moments thinking about how your products would look solo, as a set, in detail, or in use. You do not need an expensive camera to take a great picture—even the camera on your phone can hold up to the quality of professional cameras of a few years ago. All you need is great lighting and time to explore your subject from different angles until you find the perfect shot.