How to Produce the Perfect Customer Testimonial Video
Here are some tips for producing a great testimonial video
A huge part of ecommerce success relies on trust. People are buying something they’ve never seen or touched, so you need to provide them with as much information as they need to make them feel reassured and click that purchase button.
There are several aspects you should take into account to maximize conversions, but a very basic one is to build trust in your brand. An effective tool for doing this is to create a testimonial video in which your clients endorse your brand in front of the camera.
I know what you’re thinking: you already have some text testimonials on your site. But video is much more powerful than big chunks of text. In fact, 59% of senior executives agree that if both text and video are available on the same topic on the same page, they prefer to watch the video.
Why testimonial videos?
There are a lot of types of marketing videos: educational videos, explainer videos, product videos and so on. However, customer testimonials are one of the most effective types of videos when it comes to increasing conversions at the decision stage of the buyer’s journey. Remember that at this point, your prospects are aware of a certain problem they are experiencing, and they’ve found you among the most interesting alternatives in the market, but they are assessing their options. Testimonial videos are the final push they need to take the next step. Check out how a compelling customer testimonial video can do that for you:
All that being said, creating a really effective and quality testimonial video like this one is a tricky process, and failing to do so can affect your brand negatively. That’s why this complete guide on how to create a top-notch testimonial video will at least give you the essentials that you can’t ignore.
Let’s begin this journey!
Pre-production
The anatomy of a perfect testimonial questionnaire
When it comes to creating this type of video, the worst sin is to script your interviews. You don’t want a stiff client trying to memorize what you’ve told him/her. Your video will express a heartfelt and genuine testimony if you have a candid conversation with your client.
On the shooting day you should know what you’re looking for so that you don’t lose the thread of the conversation.
However, on the shooting day you should know what you’re looking for so that you don’t lose the thread of the conversation. If you just write some questions beforehand, you’ll feel more confident and less anxious and your interviewee will appreciate it too. Here are some ideas:
- What was the problem you wanted to solve?
- What prompted you to consider this product?
- Was there an obstacle that might have prevented you from buying this product? (This question can help you discover an issue you might not have considered.)
- How has the product improved your business?
- What do you like most about it?
- Would you recommend the product? If so, why?
- Is there anything else you want to add?
- Send your questionnaire to you client ahead of time so that everybody knows what * to expect the day of shooting.
What should you ask from your customers before filming?
First of all, do your best to make them feel comfortable. Your video’s success depends on that.
Remind them not to look at the camera, it usually looks weird unless you’re a professional host.
Another tip that will help you at the editing stage is to have recorded full answers.
Another tip that will help you at the editing stage is to have recorded full answers. For example, if you ask: “What do you like most about (name of the product or service)?” your client should answer “What I like most about…is…” In the post production phase, you’ll erase your questions, so ask your client to answer with a full phrase that will help your viewers understand the context.
### Scouting: what you should look for in your ideal location
When looking for the perfect scenario, your main aim is to give context to your customer’s testimonials.
You can achieve this by shooting indoors or outdoors.
If you’re on a tight budget, the second option may be better due to its lower cost. On the downside, you’ll have no control over the environment, and privacy and security—think about equipment storage for instance—may become issues when shooting.
Examples of outdoor locations could be the front of an office building, a sidewalk, or any special location related to the topic of the video.
By shooting indoors, you will have more control over the environment (light, traffic, noise, etc.). Besides, the setting will be safer and more private. Shooting special effects and creating extraordinary scenarios is also easier.
However, costs tend to run higher and shooting indoors is not the best option if you need a realistic set. Indoor locations could be a studio, lobby, conference room, or bar/café. Your client’s office is also a great choice to make them feel more relaxed. Check this example out:
Filming
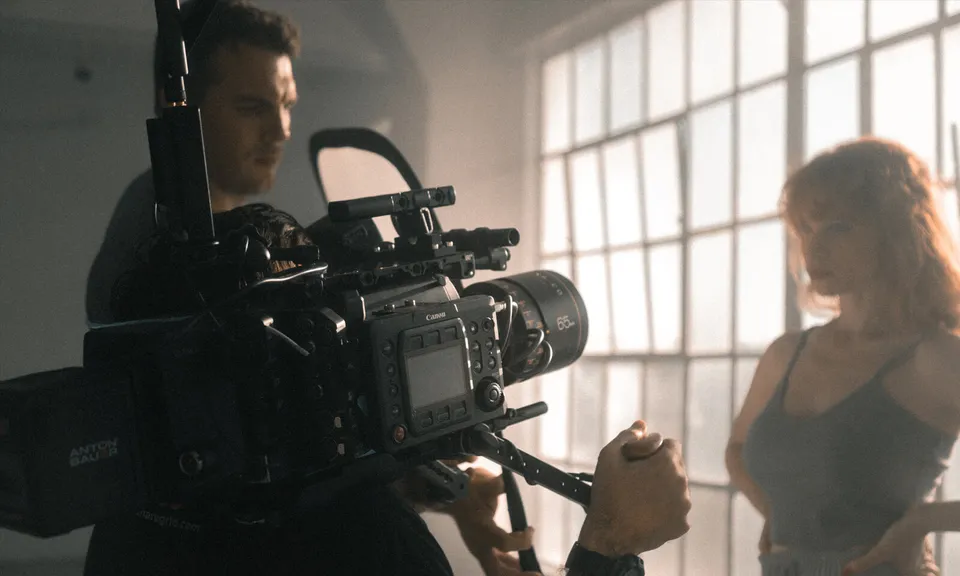
Camera setup
If you only have one camera, use the traditional medium shot for your interview. Then, you should do the interview again in a closer shot (first shot, for example) to capture emotional moments or important quotes. At the editing stage, you’ll choose the right shot for each part of the interview.
Be sure to place the camera at the same height as the interviewer and subject so they won’t seem to be looking up or down at the other person.
If you use multiple cameras, you’ll be able to easily show a variety of angles in your video. Make sure all of the cameras use the same frame size, frame rate, aperture, ISO, and white balance.
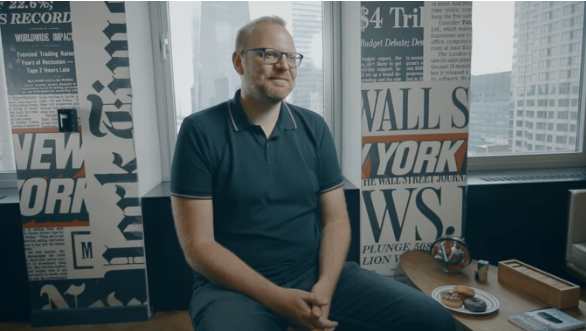
Place both cameras at the same height. You could place camera A near the interviewer (first shot) so the subject’s eye line falls to either the left or right of the camera. Place camera B on the same side to capture a medium shot. Check out these two captures of the first video as an example of this:
Camera A
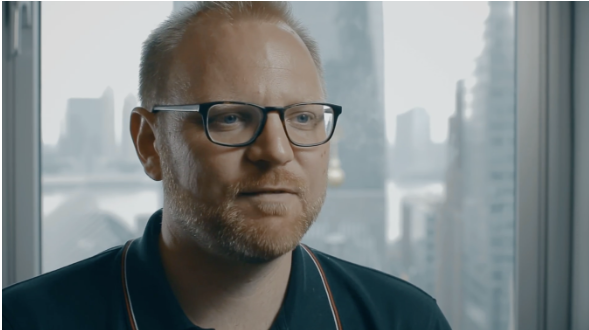
Camera B
Interviewee and interviewer positioning
Have the interviewer stand or sit to the right or left of the camera so the subject will be looking just off-camera.
To position the subject, imagine your camera shot is divided into thirds and then place the subject in the opposite third from the direction they’re looking in.
To position the subject, imagine your camera shot is divided into thirds and then place the subject in the opposite third from the direction they’re looking in. That is, if the subject is looking to the right of the camera, position them in the left third of the frame so the viewer can see a portion of the area they’re looking at. Take a look again at the previous captures to know how this looks.
Directing the interview
Give your interviewee some time to elaborate on the answers.
Don’t interrupt them or else your voice will overlap with theirs. Try to let them talk freely, it’s always better to have more material than you need than less.
Being an active listener and paying attention to your client’s pauses and tone will tell you when to keep asking questions. Don’t be afraid to go deeper with your questions if you feel there is more information to explore.
The importance of inserts and how to film them
Inserts are a part of a scene filmed from a different angle and/or focal length from the master shot. Different framing lets you emphasize specific aspects of the interview. A close-up is the best way to achieve this but you can also do it by capturing inserts of your subjects’ hands moving or interesting parts of their clothes.
Why do you need this? Well, in the editing stage you’ll need inserts to get smooth transitions between different shots.
Technical considerations
What type of microphone should you use?
Keep in mind that the environment in which you’re shooting will affect the sound.
When shooting indoors, shotgun, bi-directional (if you need to record the voices of both the interviewee and interviewer), and lavalier mics are better because they’re more directional. As they tend to record sounds from the environment, omnidirectional, cardioid, and hypercardioid mics are not suitable in this case.
Be aware that all mics are susceptible to wind. If you’re shooting outdoors, you’ll need a windscreen made of acoustic foam rubber over the mic to reduce wind and other noises. Due to its shape, it’s known as a “zeppelin”.
Lighting setup
If you’re shooting indoors, consider a three-point lighting setup:
- The key light, the main one, is the brightest light and the most important. It’s usually placed to one side, and high up.
- The fill light supports the first light illuminating the parts of the frame that would be in the shadows if you used only one key light.
- The hair or backlight helps separate subjects from the background by lighting their backs.
There are many more types of lights but with the ones listed above, you won’t fail with this basic setup.
By using a white bounce board, you can add dimensions to the subject’s face.
Shooting outdoors could mean harsh bright and dark zones in your subject’s face. Using a “scrim” you can minimize this effect. In order to soften the sunlight, you can leverage a diffuser attached to a light stand. By using a white bounce board, you can add dimensions to the subject’s face.
Editing and post-production
Great editing is a fine art that you won’t master easily. However, here you have some basic tips:
- Choose the best camera angles according to what your subject is saying. Remember, close-ups are a great way to emphasize an emotional message such as: “We’re very happy with the results.”
- Leverage your inserts when you lack interesting content from the subject. You can also strengthen a point or simply add some excitement.
- Even if you’re careful with your lighting setup you’ll probably need to make adjustments and correct cloudy, bright or dark shoots. Apply special filters to create specific aesthetics.
- Add lower thirds as text overlaying the video to identify the person speaking (name and title). You can add other graphic elements such as boxes, images, or shading, but don’t overdo it.
- Don’t forget to use your brand colors for the footer, lower thirds, and cards, as well as at the beginning and end of the video (in these two cases, include your logo).
Final words
Your Ecommerce will surely benefit from testimonial videos. Always try to do more than one to strengthen your brand reputation.
Choose some of your happy clients and send them some questions to prepare the ground for your interview. Scout out a location that provides context to your brand’s message. Take care of all the technical aspects and you’ll nail your first video. Be ready to see how your sales will skyrocket!