To easily embed an Instagram post in your VOLT Store just using the URL of the post, you need to use the oEmbed format. This tutorial covers making a custom Block with Element that will dynamically embed any Instagram post from its URL.
Your online presence is multifaceted and exists beyond just the products for sale on your VOLT Store. Many retailers, brands, and other businesses enjoy large followings on Instagram, where the visual medium of the platform helps you connect with customers. Whether announcing new products, launching sales, or posting short videos, your Instagram feed is one of the most frequently updated parts of your online marketing strategy.
Instead of duplicating content on your VOLT Store from your Instagram feed, you can actually embed Instagram posts directly as part of your ecommerce store. Because Instagram is a site that lends itself to frequent updates, you want to be able to quickly and easily change which post or posts are embedded as part of your ecommerce store. This tutorial will show you how to make a custom Block for your VOLT Store that embeds an Instagram post based on its URL.
While a previous article discussed embedding Instagram posts into the VOLT Store, that tutorial required you to copy-paste the entire embed HTML code for the post. That method requires extra steps and can be prone to error, making it not the best choice for embedding Instagram posts, particularly if VOLT is being used by someone with less technical expertise.
VOLT offers the developmental flexibility to allow you to embed an Instagram post simply from its URL. You will learn how to use the Element platform to embed the Instagram post dynamically using the oEmbed format. When you find an Instagram post to embed, you can retrieve its URL from the address bar (on desktop computers) or by clicking Share → 🔗Copy Link on any platform, including mobile. Next, you will learn about the oEmbed format, and how it can be used to embed Instagram posts into your ecommerce store.
“oEmbed is a format for allowing an embedded representation of a URL on third party sites. The simple API allows a website to display embedded content (such as photos or videos) when a user posts a link to that resource, without having to parse the resource directly.” —oEmbed.com
With the oEmbed format, you don’t need to duplicate content from your Instagram feed to your VOLT Store, saving you time and effort. You don’t even need to use the embed HTML code from the Instagram post. Instead, you can use just the URL pointing to the Instagram post to embed it into your VOLT Store.
As stated in Instagram’s documentation on embedding, retrieving the oEmbed data from Instagram’s API returns a JSON object containing the post’s embed HTML code. This embed HTML code can be used to embed the post into your ecommerce store, without needing to manually copy-and-paste the HTML by hand.
In this tutorial, you will be building a custom Block for VOLT that will access Instagram’s API via oEmbed. Like all VOLT Blocks, your custom Block will be reusable, so that you can use it wherever including an Instagram post would work best for your VOLT Store. Changing the Instagram post later will be as simple as updating the URL inside of VOLT’s Site Designer.
Before continuing this tutorial, you should understand the basics of how to create and publish a custom Block to VOLT using Element.
The article “Building An Element Page Tutorial” in the Element Platform Documentation can help you learn to use Element to build a custom Block. There is also a helpful series of YouTube videos called “Element Tutorial | VOLT Learning Center” (27 minutes playing time) that will show you how to build a custom Block step-by-step.
You will need authorization for developing custom Blocks with Element before continuing with this tutorial. Instructions are available in the Element Platform Documentation: “How To Get Approved To Develop Blocks.”
The first step to making your own custom Block to embed an Instagram Post is to use the Element Command Line Interface (CLI) to make a new Block called “Embed Instagram Block.”
First, from the command line, login to the Element CLI using your username and password for VOLT’s Site Designer:
element login
From the directory where you keep your Element Blocks, run the following terminal commands to create the new custom Block and install its npm packages:
element new EmbedInstagramBlock
cd EmbedInstagramBlock
npm install
Next, you initialize the Git repository for the custom Block using the terminal commands:
git init
git add -A
git commit -am "Initial Commit"
If you are planning to publish your repository online (e.g. to GitHub) for backup and collaboration, you may want to do that now.
Having created the custom Block, you need to configure it to store the URL for the Instagram Post as the “string” Element Proptype. The user of the custom Block in VOLT’s Site Designer will be able to change the URL easily in order to change the displayed Instagram Post.
Open up the /src/configs.js file for your new custom Block. Replace the content of that file with the following code:
import { ElementPropTypes } from "@volusion/element-proptypes"

export const configSchema = {
  embedInstagramURL: {
	label: "Instagram URL to embed",
	type: ElementPropTypes.string,
  },
}

export const defaultConfig = {
  embedInstagramURL: "https://www.instagram.com/p/CAyUsL3srWr",
}
In the section for the default configuration above, you can use your own Instagram URL instead of the example provided. Either way, it can be changed easily from VOLT’s Site Designer.
To retrieve the oEmbed-formatted data for the Instagram post, VOLT will request the data on the server side using code run from the /src/getDataProps.js file. Open up the /src/getDataProps.js file for your new custom Block. Replace the content of that file with the following code:
export const getDataProps = (utils, props) => {
  // Use JSON for Instagram; there are no CORS problems with Instagram's API:
  const instagramPromise = utils.client
	.request(`https://api.instagram.com/oembed?url=${props.embedInstagramURL}`)
	.then((res) => res.json())
	.catch((e) => console.log(`Error when fetching Instagram Post: ${e}`))

  const jsonEscape = (string) => string.replace(/<script.*<\/script>/, "")

  return instagramPromise.then((value) =>
	value ? jsonEscape(value.html) : null
  ) // Return null (or an optional error message) if the Promise fails.
}
The above code requests the JSON object for the oEmbed using a GET request to Instagram’s API, https://api.instagram.com/oembed, in a process described in Instagram’s embed documentation. In the next section, you will learn about how the different parts of this server side code work.
In the last section, you set up the server side request for the oEmbed data from Instagram. Technically, the data will be retrieved on the client side when developing locally and when working inside VOLT’s Site Designer. That means the data is being retrieved by your web browser (the client) instead of by a web server (VOLT). Client side requests make sense in development, as there is no “server” (also called a backend) in your local development environment. Once you deploy a custom Block to a VOLT Store, whether as a preview or as a published (live) version of the store, then the /src/getDataProps.js file is run on the server side.
For Instagram posts, requesting data on the client side instead of the server side doesn’t make a difference. However, for certain other APIs, you can run into CORS errors.
CORS or Cross-Origin Resource Sharing is a security measure that prevents API requests from being sent from an untrusted source, like the web browser. CORS means that, in some situations, you might need to take extra steps to make the API request succeed, such as when working in your local development environment. CORS is not relevant for Instagram, but is important to consider when working with oEmbed using certain other APIs, including Twitter.
The request helper function from the Element SDK (available as utils.client.request) is the server side substitute for fetch. Using request fixes “ReferenceError: fetch is not defined,” which would occur if you try to use fetch on the server side. The Fetch API (window.fetch) is a client side API and is not defined on the server. To put it another way, there is no window object outside of the browser, so you can’t call fetch from server side code (from Node.js). The request helper function acts like fetch, but can be executed by VOLT from the server side.
When you retrieve the embed HTML code for Instagram using the oEmbed format, it includes the <script> tag for Instagram’s widget script (embed.js). As a security precaution, that script will not load when embedded into the custom Block, so you need to load the script file separately. You will be loading the widget script from within the custom Block itself, which you will configure next in the /src/Block.js file. Also, leaving the </script> tag in the embedded HTML will cause an error ("SyntaxError: unterminated string literal") in some browsers, including Firefox. For these two reasons, you should remove the <script>...</script> from the embed HTML code, as is shown above with the jsonEscape function that uses the String.prototype.replace() method.
If the Promise didn't work for some reason, then you can't access the property value.html of the JSON object, so you need to return null to avoid a TypeError. Alternatively, you could substitute null for a specific error message to be displayed, or an empty string ("") to display no content. The Promise failing is usually not a problem with Instagram posts, but can occur if the network request fails for some reason, such as if Instagram’s API is down and VOLT cannot retrieve the oEmbed data.
When fetching multiple social media posts, it can be helpful to use the function Promise.all() with an array of Promises. For example, you might change the return statement above to the following code:
return Promise.all([instagramPromiseOne, instagramPromiseTwo]).then(
   (values) => [
   values[0] ? jsonEscape(values[0].html) : null,
   values[1] ? jsonEscape(values[1].html) : null,
])
This code would return an array containing either the embed HTML code for each Instagram post or null in case the Promise for that post failed.
The custom Block itself uses React to display (or render) the HTML code retrieved in the last file, thus embedding the Instagram post into your VOLT Store. Open up the /src/Block.js file for the custom Block, then replace it with the following code:
import React, { useEffect } from "react"
import { css, StyleSheet } from "aphrodite/no-important"
import { getStyles } from "./getStyles"
import { defaultConfig } from "./configs"
const Block = (props) => {
// Get the custom Aphrodite styles that will be used in this Block:
const classes = StyleSheet.create(getStyles(props))
// Load the Element SDK helper to join Atomic CSS classes with Aphrodite:
const joinClasses = props.joinClasses
// Destructure the oEmbed code snippets (HTML) from the data props:
const embedInstagramHTML = props.data
// If you need to embed multiple Instagram posts, you can combine them:
// const embedHTML = embedInstagramOneHTML + embedInstagramTwoHTML
// Run the code once when the Block is rendered with React's Effect Hook:
useEffect(() => {
// Load Instagram's embed.js, the external JavaScript file for Instagram:
const instagramScript = document.createElement("script")
instagramScript.setAttribute("src", "https://www.instagram.com/embed.js")
instagramScript.setAttribute("async", true)
const instaElement = document.getElementsByClassName("instagram-media")[0]
// Only add the Instagram file if there is an Instagram Post to embed:
instaElement ? instaElement.appendChild(instagramScript) : null
}, [])
// Using [] for useEffect's second argument will run the code only once.
// To display HTML markup, React needs an object with the __html property:
const outputAsMarkup = { __html: embedInstagramHTML }
// Create a <div> element with the banner text using the custom styles:
const outputDiv = (
<div
// Use joinClasses to combine Atomic CSS classes with custom styles:
className={joinClasses(
"ma0 pa3 flex justify-around",
css(classes.banner)
)}
// The Atomic CSS classes ma0 and pa3 set margins to 0 & padding to 1rem,
// while flex & justify-around have CSS flexbox place space around items.
// The dangerouslySetInnerHTML prop will render HTML except <script> tags
dangerouslySetInnerHTML={outputAsMarkup}
></div>
)
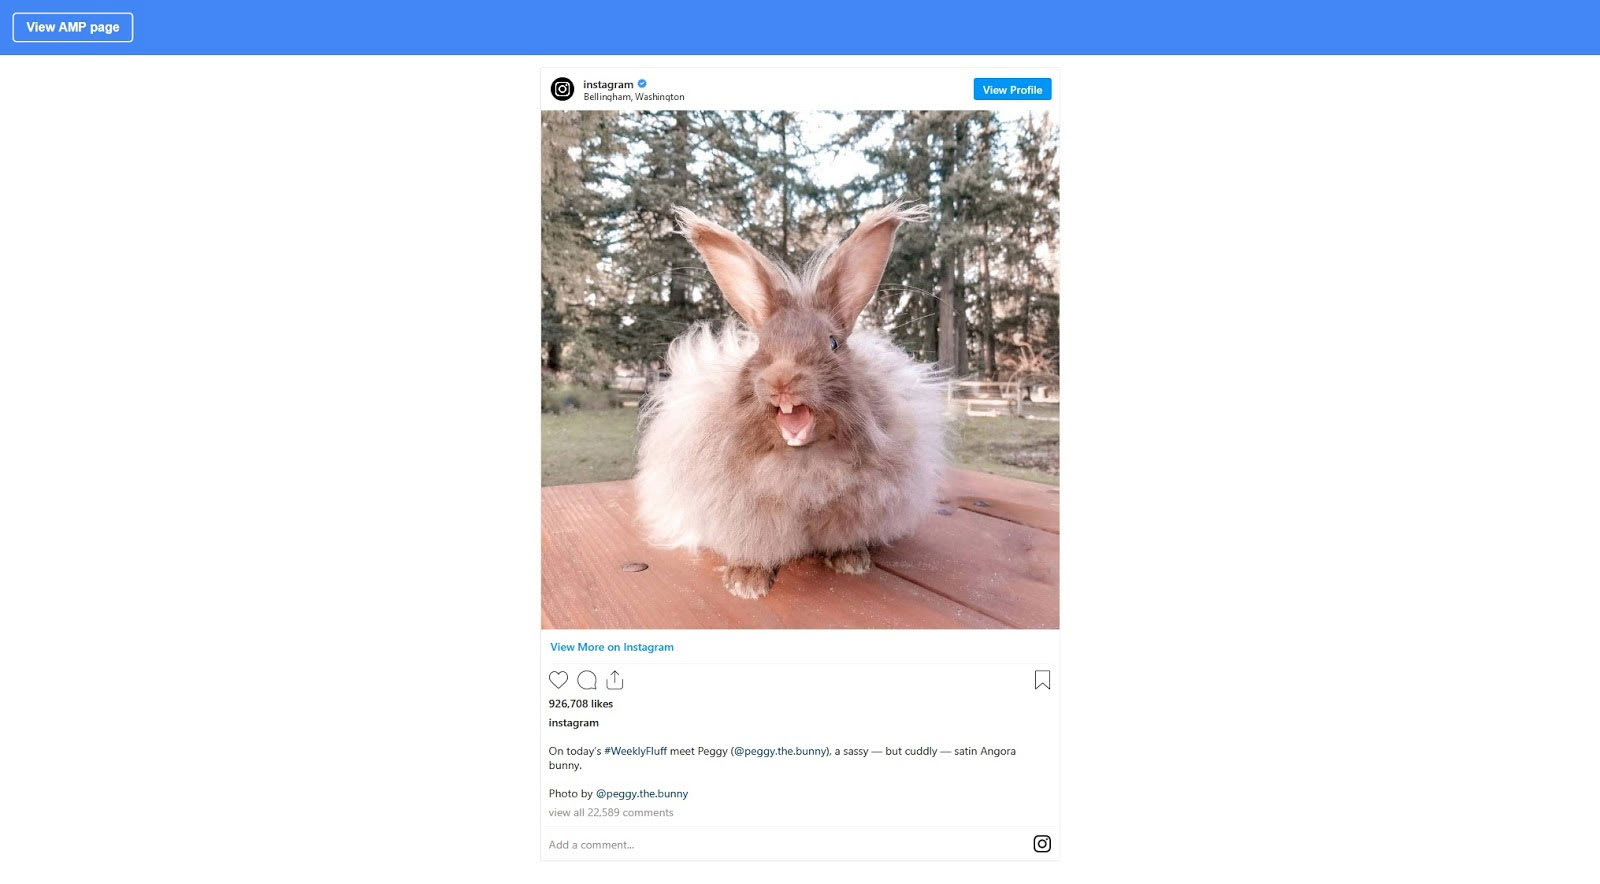
// Google AMP pages won't load external JavaScript files, so this social
// media embed Block won't be able to load on the AMP version. For the AMP
// page, props.utils.isAmpRequest is true, so return null for an empty Block:
return props.utils.isAmpRequest ? null : outputDiv
}
Block.defaultProps = defaultConfig
export default Block
The method to display HTML markup in React is called dangerouslySetInnerHTML (as explained in this article). This is React’s equivalent to the Element.innerHTML function in vanilla JavaScript. Using the innerHTML methods allow you to render arbitrary HTML code programmatically, so that it will be displayed as HTML instead of text by the browser.
The custom Block uses Element’s Atomic CSS classes for styling, including classes sourced from the spacing.css and flexbox.css files in order to control the Block’s margin, padding, and CSS flexbox settings. To view the complete list of all of the classes available for use in Atomic CSS, please reference the atomic.css file in the element-atomic-css GitHub repository.
Although this custom Block does not actually need custom CSS styles from Aphrodite, they are included for consistency. To learn more about adding custom styles to Element, please read the article “Styling Your Block with CSS” over in the Element Platform Documentation.
The process for loading the embed script needed to display the Instagram post is discussed in the next section.
The custom Block code loads the Instagram widget script (embed.js) inside a function called useEffect (the Effect Hook), which is one of React’s Hooks. This widget is an external JavaScript file that actually loads the Instagram Post with its correct formatting. As previously noted, the embed HTML code retrieved via oEmbed contains a link to the embed.js file inside a <script> tag, which you stripped out in the /src/getDataProps.js file. That needed to be removed because dangerouslySetInnerHTML will not load <script> tags for security reasons.
In order to load the Instagram widget script from inside the custom Block, you can use React’s Effect Hook. If you are familiar with React’s class-based lifestyle methods, you can compare useEffect to componentDidMount and componentDidUpdate. In other words, code in the Effect Hook runs when the Block mounts (or loads) and again every time the Block updates.
Passing an empty array [] to the Effect Hook as its second argument results in useEffect only running once, when the Block first loads. If you were to put the code to load the script inside the main part of the custom Block (its render function), without using the Effect Hook, then the external script would get added to the page repeatedly, on every render (meaning every time that the Block refreshes itself).
Alternatively, you could have used the addScript helper function (available in the Block Utils from Element’s SDK) that adds external JavaScript script files to the <head> HTML element of the page. The method used in the custom Block’s source code above, Node.appendChild(), places the <script> tag at the end of its embedded content. Some widget scripts, like the one used by Twitter, will not be compatible with the addScript function, as they need to be added specifically to the end of the embedded content.
Google’s AMP (Accelerate d Mobile Pages) is a toolkit for building super-fast, mobile-first versions of websites that will show up in Google search results on mobile devices. VOLT supports AMP out-of-the-box without requiring any additional configuration.
The method of embedding an Instagram post used in this tutorial will not work on AMP pages, due to AMP’s restrictions on external JavaScript files. The Instagram embed widget requires dynamically loading external JavaScript files, as discussed in the last section.
In the above /src/Block.js file, you may have noticed the value “props.utils.isAmpRequest” — a value which will be true on the AMP version of the VOLT Store. For the AMP page, the custom Block is provided with the value of null, which will cause the Block not to render anything at all.
Because AMP won’t load the custom JavaScript, using null means nothing will be displayed for the Instagram post on the AMP version of your VOLT Store. For help embedding Instagram posts on AMP pages, please refer to the AMP documentation for amp-instagram.
Having finished configuring the custom Block, you can launch your local development server to examine how the Block works. To preview the custom Block, use the npm start (npm run start) terminal command from inside the Element Block’s directory:
npm run start
This command will open up a new browser window (http://localhost:4000/) that will allow you to examine the custom Block, which will display the Instagram post specified in the /src/configs.js file. The remainder of this tutorial will discuss publishing the custom Block for use in VOLT.
In order to publish your custom Block and begin using it in VOLT, you need to update the Block’s test files so that all unit tests for the custom Block pass. This tutorial will not cover writing unit tests for the Instagram post, so you will need to skip the tests. To skip the units tests, open up the /__test__/Block.spec.js file and add the text “.skip” after the keyword describe on line 10:
describe.skip("The Block", () => {
Add the same “.skip” to the /__test__/AMP.spec.js file on line 10:
describe.skip('The Block when loaded over AMP', () => {
That change will skip all of the tests for now, allowing you to publish the new custom Block to VOLT. It is best practice to include tests for your custom Blocks, as unit tests help prevent bugs when making future updates. When you have finished updating both test files, you can build and publish the custom Block.
First, you need to stop the local development server (npm start) using the keyboard shortcut Ctrl+C to terminate the running process. Then, build the Block using the npm run build terminal command from the custom Block’s directory:
npm run build
Next, publish the Block with the element publish command from the Element CLI:
element publish -n "Embed Instagram Post"
You will need to use the required -n flag (meaning “name”) for the custom Block’s name, which needs to be in quotes. The Element CLI will prompt you to select a category for the Block using the arrow keys. Choose the category Features and hit the Enter key.
As you do not have a thumbnail image for the custom Block, you will see a warning message stating that the file “thumbnail.png” is missing. For help adding a thumbnail image, please refer to the 4-minute YouTube video How to Create a Thumbnail for Your Block | Element Tutorial | VOLT Resource Center, or check out the documentation for the Element CLI’s publish command.
Having published the custom Block from the command line, it will become available for you to start using in VOLT’s Site Designer. The new custom Block will start in development (or “staging”), meaning it will not be shown in the VOLT Store when you click the Publish button in VOLT’s Site Designer. The next section will discuss making changes to the Block and releasing the Block from staging to production.
When you make changes to the custom Block, you will need to rebuild the custom Block using the terminal command npm run build. Then, you update the current minor version of the Block using the element update command:
npm run build
element update
Note that if you update the /src/getDataProps.js file, you will need to release a new major version using the element publish command with the -m “Major” flag:
element publish -m
Major versions need to be manually updated within VOLT’s Site Designer, while minor versions are automatically deployed to all VOLT Stores using the custom Block. For more information on the versioning system for custom Blocks, please refer to the Element Platform Documentation article How To Track Block Versions.
As mentioned before, custom Blocks start off in staging when you first publish or update them. Blocks in staging will only be visible on the preview version of the VOLT Store in Site Designer, but not in live VOLT Stores. This lets you test the Block before you make it public.
When you are ready to release the custom Block, enter the terminal command element release using the -n “Notes” flag to specify optional release notes in quotes:
element release -n "The Release Notes"
The release command will then ask you to confirm on the command line (by entering “Y” for yes or “n” for no). When you release the first version of the custom Block, it will then be shown immediately on all VOLT Stores that have installed that custom Block. For more information, please see the documentation for the Element CLI’s release command.
It is recommended that you track the version release using Git. When developing from a released version of the Block, you should also consider working from new Git branches. To tag the current version, enter the following commands into the terminal from the Block’s directory:
git commit -am "Version 1.0"
git tag 1.0
At this point, you have released a custom Block that embeds an Instagram Post into your VOLT Store using the oEmbed format. The user of the Block in VOLT’s Site Designer can switch out the Instagram post simply by changing the URL configured for the Block.
Embedding your Instagram posts directly into your VOLT Store helps unify your online branding while reducing duplication of effort. In this tutorial, you learned how to use Element to build a custom Block that shows off an Instagram post. This custom Block uses oEmbed to retrieve the HTML code needed to embed for the Instagram post based on its URL. The Block then displays the Instagram post as embedded content in your VOLT Store.
When you configure the custom Block inside VOLT’s Site Designer, you can easily swap the URL for the Instagram post with the URL for any other post that you would like to feature. Based on this example, you can expand it to embed multiple posts or retrieve other oEmbed-formatted data.
Hopefully, this tutorial has helped you understand using the oEmbed format with VOLT to help you feature Instagram posts in your ecommerce store.